
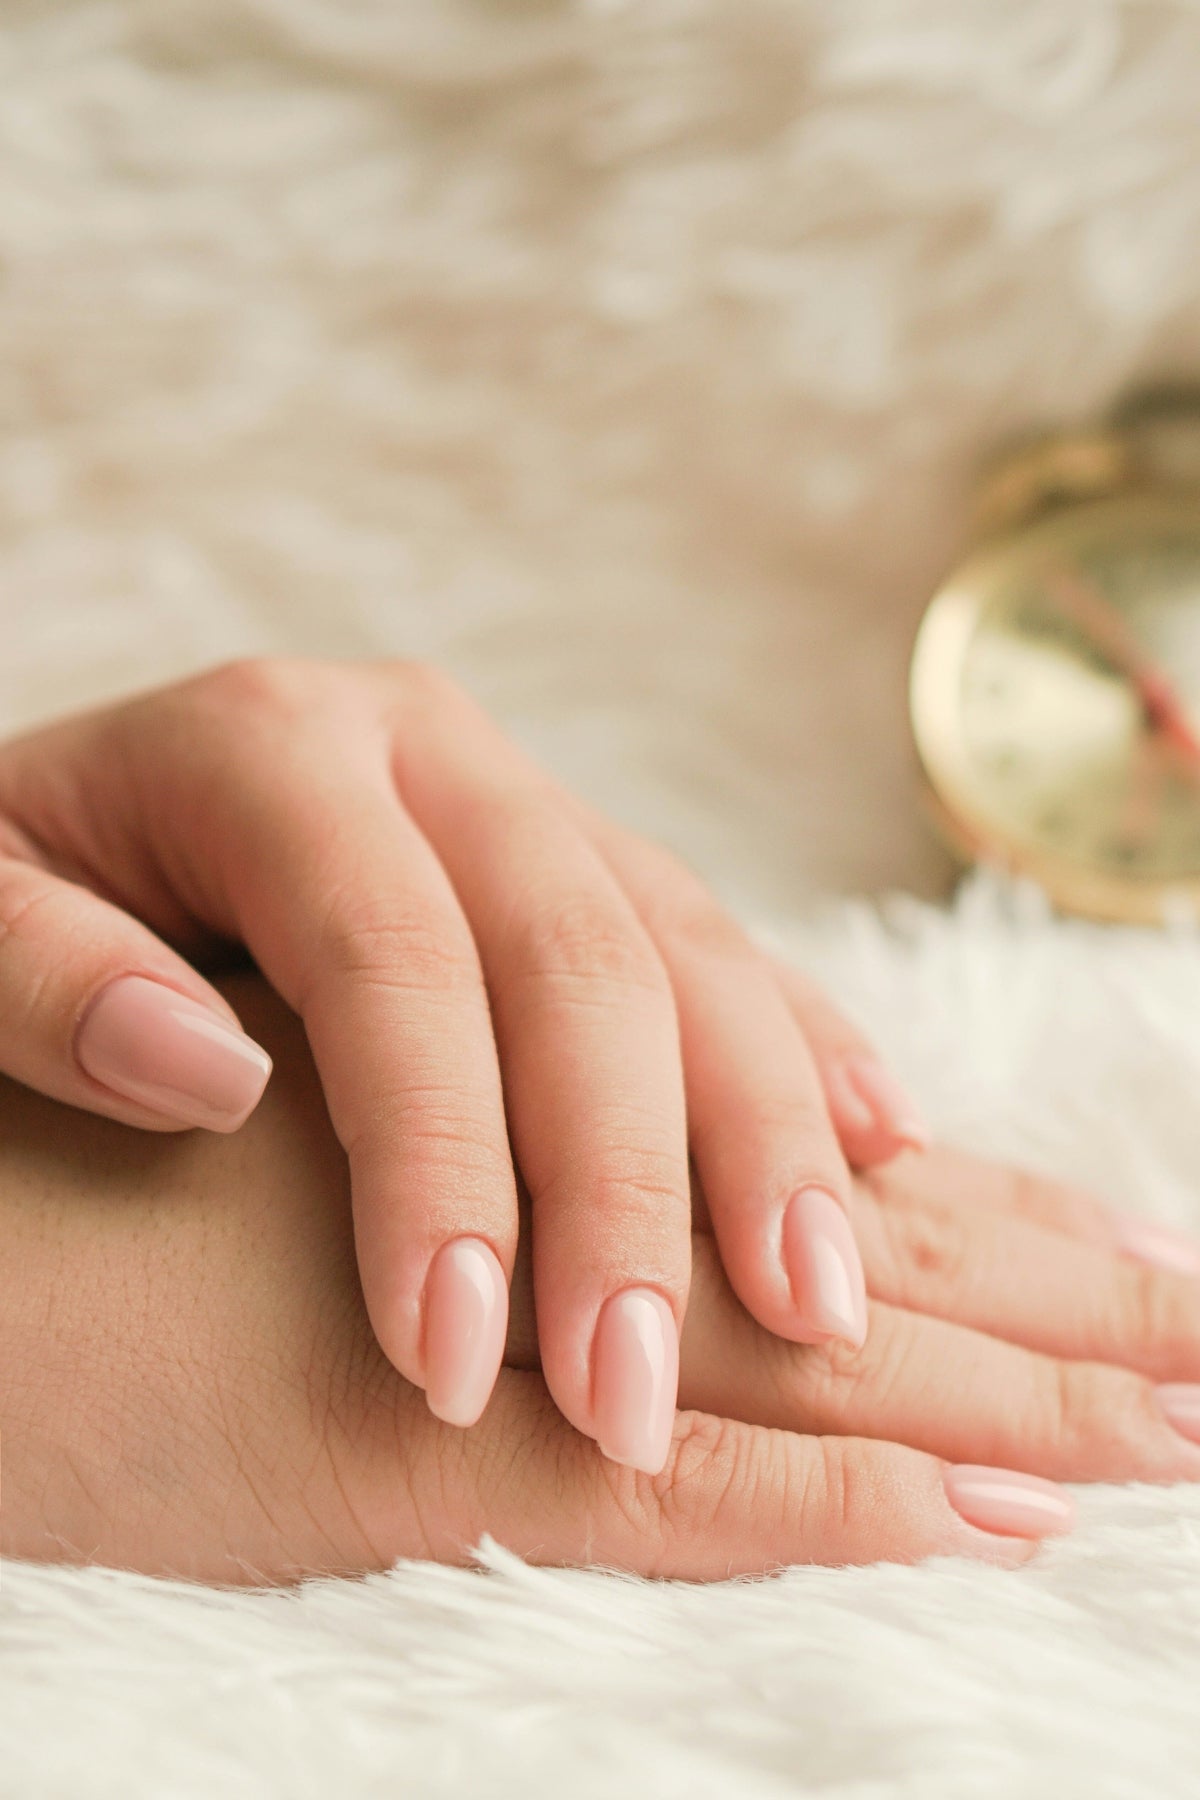
A Beginner's Checklist for Applying Gel Nails Professionally at Home
Do you dream of achieving salon-quality gel nails without leaving your home? You're in the right place! With this comprehensive beginner's checklist, you'll learn step-by-step how to do gel nails at home. Whether you're wondering how to apply gel nail polish at home for beginners or searching for the best gel nail kit for beginners, we've got you covered.
Step 1: Gather Your Supplies
Before you begin, it's essential to have all the necessary tools and products at your fingertips. Here's what you'll need for a perfect home manicure:
- Nail File and Buffer: Shape and smooth your nails.
- Cuticle Pusher: Gently push back cuticles.
- Ambedo Multi-Use Cosmetic Wedges or Cotton Pads: Perfect for cleaning and prepping nails. Buy here.
- Soak Off Stronger With You Base Coat: Ensures a lasting foundation. Buy here.
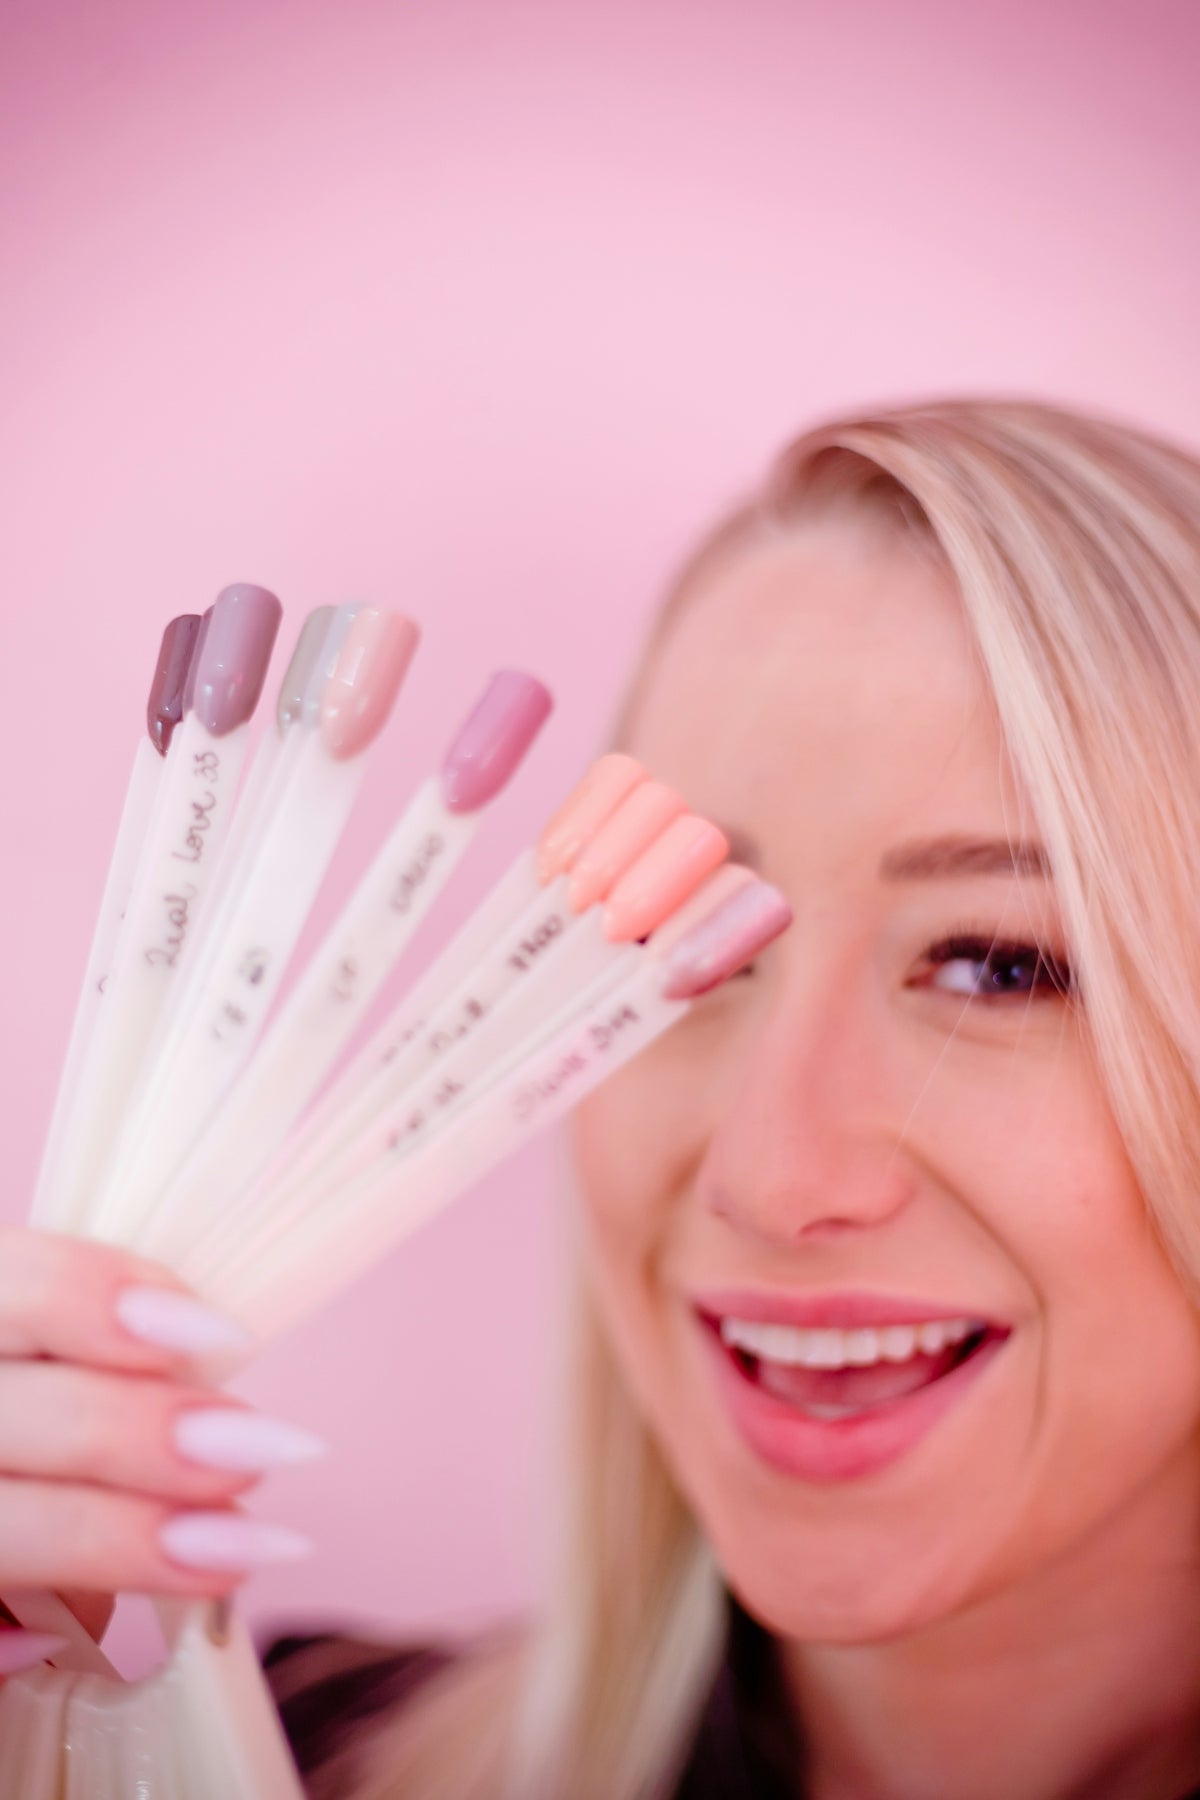
- Your Favorite Gel Polish Color: Select the shade that suits your mood.
- Fibreglass-Infused Gel Top Coat: For that chip-proof shine and a polished finish. Buy here.
- 48W UV/LED Nail Lamp: Essential for curing each coat of gel nail polish. Buy here.
- DIY Ombre Gel Polish Capsule Refills: Experiment with trendy ombre effects. Buy here.
Step 2: Nail Preparation
To achieve salon-quality results, start with clean and prepped nails:
- File and Buff: Shape your nails to the desired length and smooth the surface with a buffer.
- Push Back Cuticles: Using a cuticle pusher, gently push back your cuticles.
- Clean Nails: Use a cosmetic wedge or cotton pad to wipe your nails with polish remover to eliminate any oils or debris.
Step 3: Base Coat Application
Apply the Soak Off Stronger With You Base Coat to each nail. Ensure the entire nail surface is covered, avoiding skin contact. Cure under the 48W UV/LED Nail Lamp following product instructions.
Step 4: Applying Gel Nail Polish
Select your desired color and apply a thin, even coat. Cure this layer under the UV/LED lamp. Depending on the polish and desired opacity, repeat this process by adding a second coat and curing.
Step 5: Top Coat Application
Seal your manicure by applying the Fibreglass-Infused Gel Top Coat. Not only does this add a stunning shine, but it also helps make gel nails last longer at home. Cure this last layer under the lamp.
Step 6: Finishing Touches
After curing the topcoat, cleanse your nails with a cosmetic pad to remove any residual tackiness. Voila, your nails are ready to dazzle!
FAQs
How long do gel nails last done at home?
With proper application and care, your at-home gel nails can last up to two weeks or more.
How to make gel nails last longer at home?
To enhance longevity, ensure nails are free from oils before application, cap the nail edges with polish, and avoid activities that might chip your nails.
For more products and beauty insights, explore Ambedo Beauty today. Get ready to embrace the world of DIY beauty with confidence and style!

Written by Team Ambedo


Leave a comment
This site is protected by hCaptcha and the hCaptcha Privacy Policy and Terms of Service apply.