
Article: The Best Gel Nail Kits for Beginners Doing Nails at Home
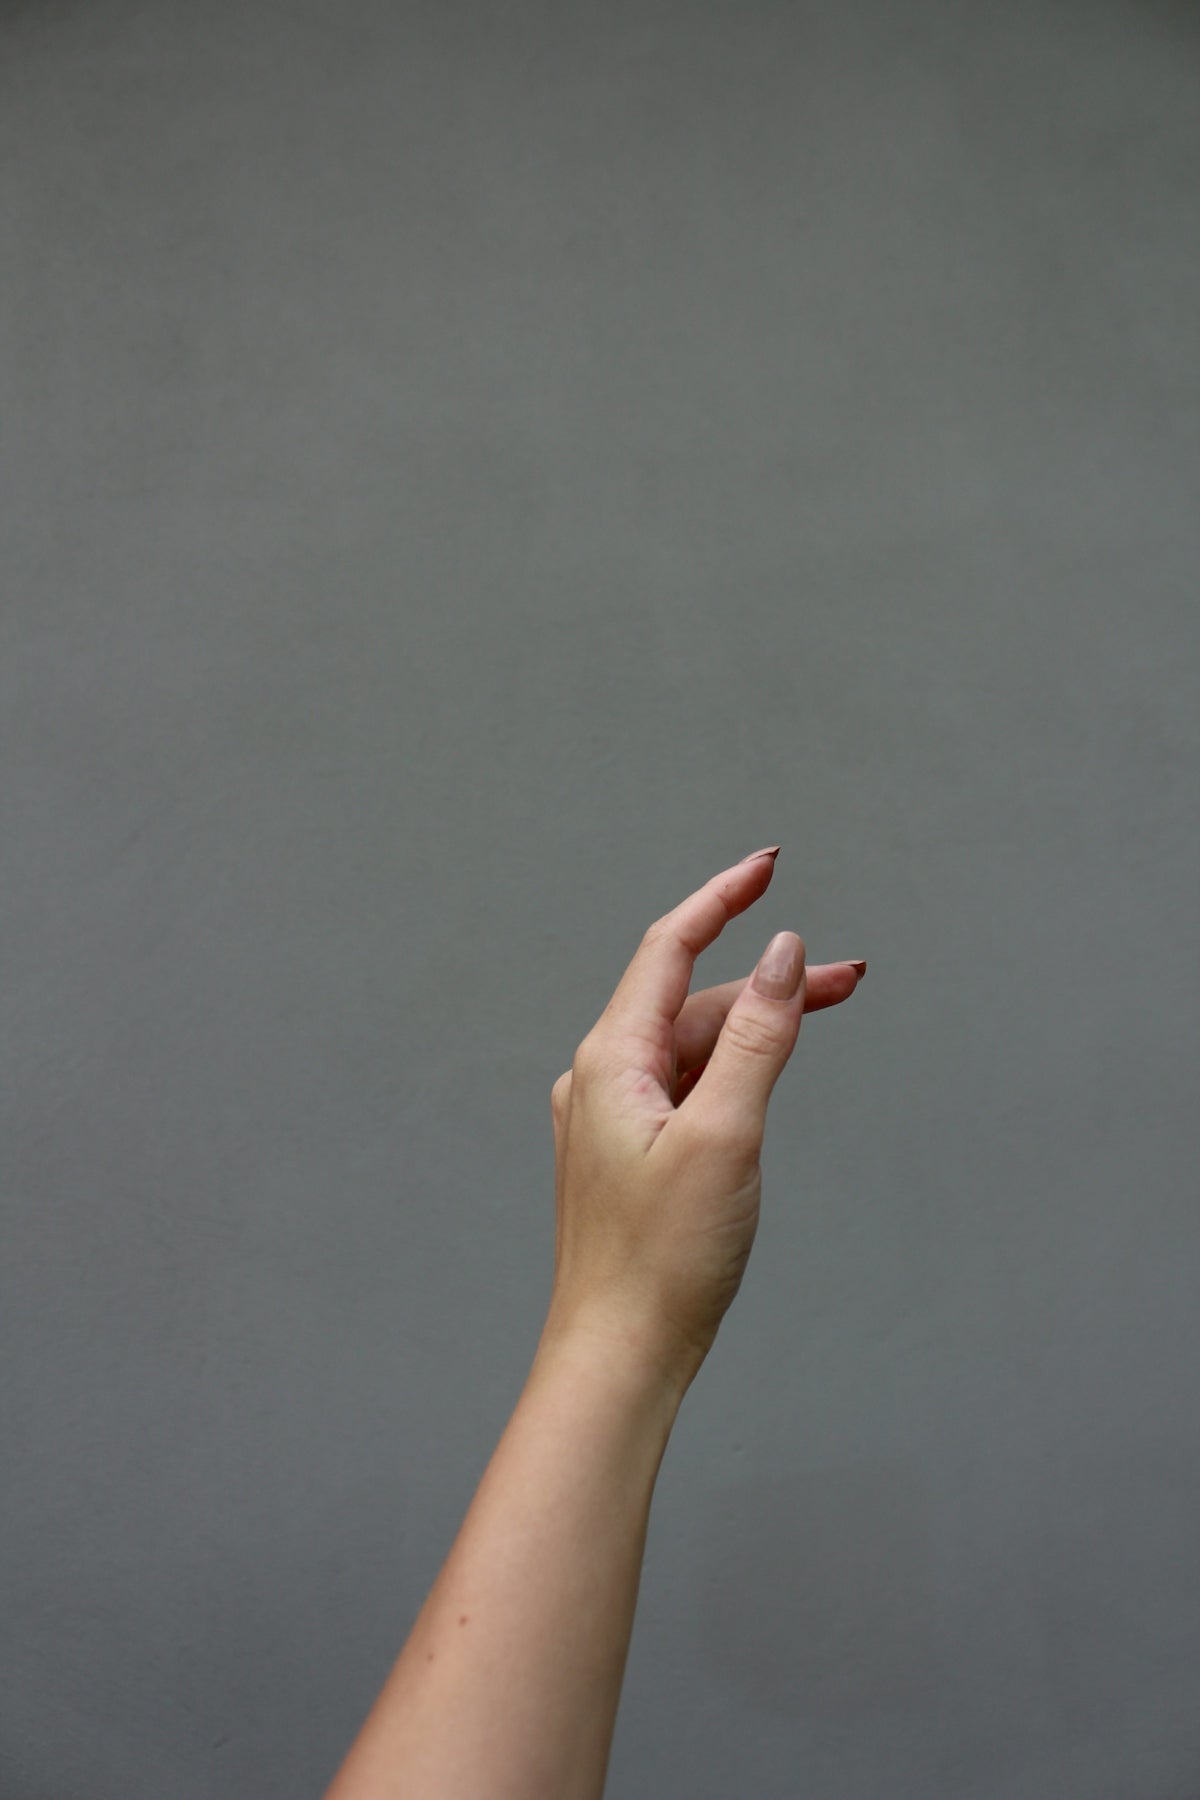
The Best Gel Nail Kits for Beginners Doing Nails at Home
In the world of DIY beauty, mastering the art of gel nails can seem like a daunting task. However, with the right tools and some practice, anyone can achieve salon-quality results from the comfort of their home. Whether you're new to gel nails or looking to refine your skills, we've compiled a list of the best gel nail kits for beginners. By the end of this guide, you'll know how to do gel nails at home like a pro.
Why Choose Gel Nails?
Gel nails are popular for their long-lasting shine and durability. Unlike traditional nail polish, gel polish is cured under a UV or LED lamp, providing a glossy finish that lasts much longer. So, how long do gel nails last when done at home? With proper application and care, your at-home gel nails can last up to three weeks. Below, we'll delve into how to make gel nails last longer and the best products to get started.
How to Apply Gel Nail Polish at Home for Beginners
1. Gather Your Tools
Before you begin, ensure you have all the necessary tools. Investing in a quality starter kit is crucial. We recommend the Builder Gel Nail Starter Kit with LED Lamp, which includes everything a beginner needs—base coat, top coat, gel colors, and a curing lamp.
2. Prep Your Nails
Start with clean, dry nails. Use the Stainless Steel Mini Nail Tool Kit to shape your nails and gently push back cuticles. This step is key to getting that seamless look and ensuring your gel nails adhere properly.
3. Apply a Base Coat
For easy removal later, consider using a peel-off base. The Peel-Off Gel Base Coat | Easy Removal Foundation is a great choice, as it allows you to remove your gel polish cleanly without damaging your natural nails.
4. Add Color
Once your base coat is cured, you're ready to apply your gel polish color. Apply a thin, even layer of your chosen gel polish, and cure it under the LED lamp. Repeat with a second coat for full coverage.
5. Finish with a Top Coat
Seal your gel manicure with a top coat and cure it again. The top coat will add that extra shine and protect your color from chipping.
6. Final Cure
Ensure all layers are fully cured under the LED lamp to lock everything in place.
Tips: How to Get Salon Quality Gel Nails at Home
- Thin Coats for the Win: Apply thin coats of gel polish to prevent bubbling and ensure a smooth finish.
- Avoid Your Cuticles: Keep gel polish off your skin and cuticles to avoid lifting.
- Cap the Tips: Seal the free edge of your nails with each coat to prevent chipping.
- Quality Products: Make sure to choose high-quality gel products, as these will last longer and provide better results.
Advanced Tips for Enthusiasts
Looking to try something new? Check out the DIY Solid Gel Polish Capsule Refills | Cat-eye for creating beautiful cat-eye effects. Pair it with the Dual-End Cat-Eye Magnet | High Power for that mesmerizing shimmer.
With the right products and practice, anyone can master the art of gel nail application at home. So why not start your gel nail journey today? For more amazing nail care and beauty products, visit Ambedo Beauty.

Written by Team Ambedo

Leave a comment
This site is protected by hCaptcha and the hCaptcha Privacy Policy and Terms of Service apply.