How to Apply Gel Nail Polish at Home: A Comprehensive Step-by-Step Guide (2025 edition)
A Beginner's Tutorial for Gel Nail Polish Application
Achieving a salon-quality gel manicure at home is easier than you think. By following the right steps and using premium products, you can enjoy long-lasting, glossy nails without leaving your house. Follow these detailed instructions to create a flawless gel manicure from start to finish.
Step 1: Nail Preparation for Gel Polish Application
Proper nail preparation is the foundation of a long-lasting gel manicure. Skipping this step can lead to peeling or chipping, so take your time to get it right.
- Clean Your Hands: Wash your hands thoroughly with soap and water to remove dirt, oils, and debris.
- Shape and Buff: File your nails into the desired shape, whether square, oval, or almond. Lightly buff the nail surface with a nail buffer to remove any shine and create a smooth, even canvas for the gel polish.
- Push Back Cuticles: Use a cuticle pusher to gently push back your cuticles. Trim any excess skin for a clean, professional finish. This step helps prevent gel polish from lifting.
- Dehydrate the Nails: Use a lint-free wipe soaked in rubbing alcohol to remove natural oils from the nail surface. This ensures the gel polish adheres properly and lasts longer.

Step 2: Step-by-step guide for applying gel nail polish at home
Once your nails are prepped, it’s time to start applying the gel polish. These steps will help you achieve an even, professional-looking finish.
- Base Coat Application: Apply a thin, even layer of Ambedo Beauty’s base coat. Avoid flooding the cuticles and make sure to seal the free edge by lightly brushing the tip of the nail. This step is crucial for preventing chipping and ensuring long-lasting wear.
- Cure the Base Coat: Place your nails under an LED or UV lamp for the recommended curing time, usually 30-60 seconds.
-
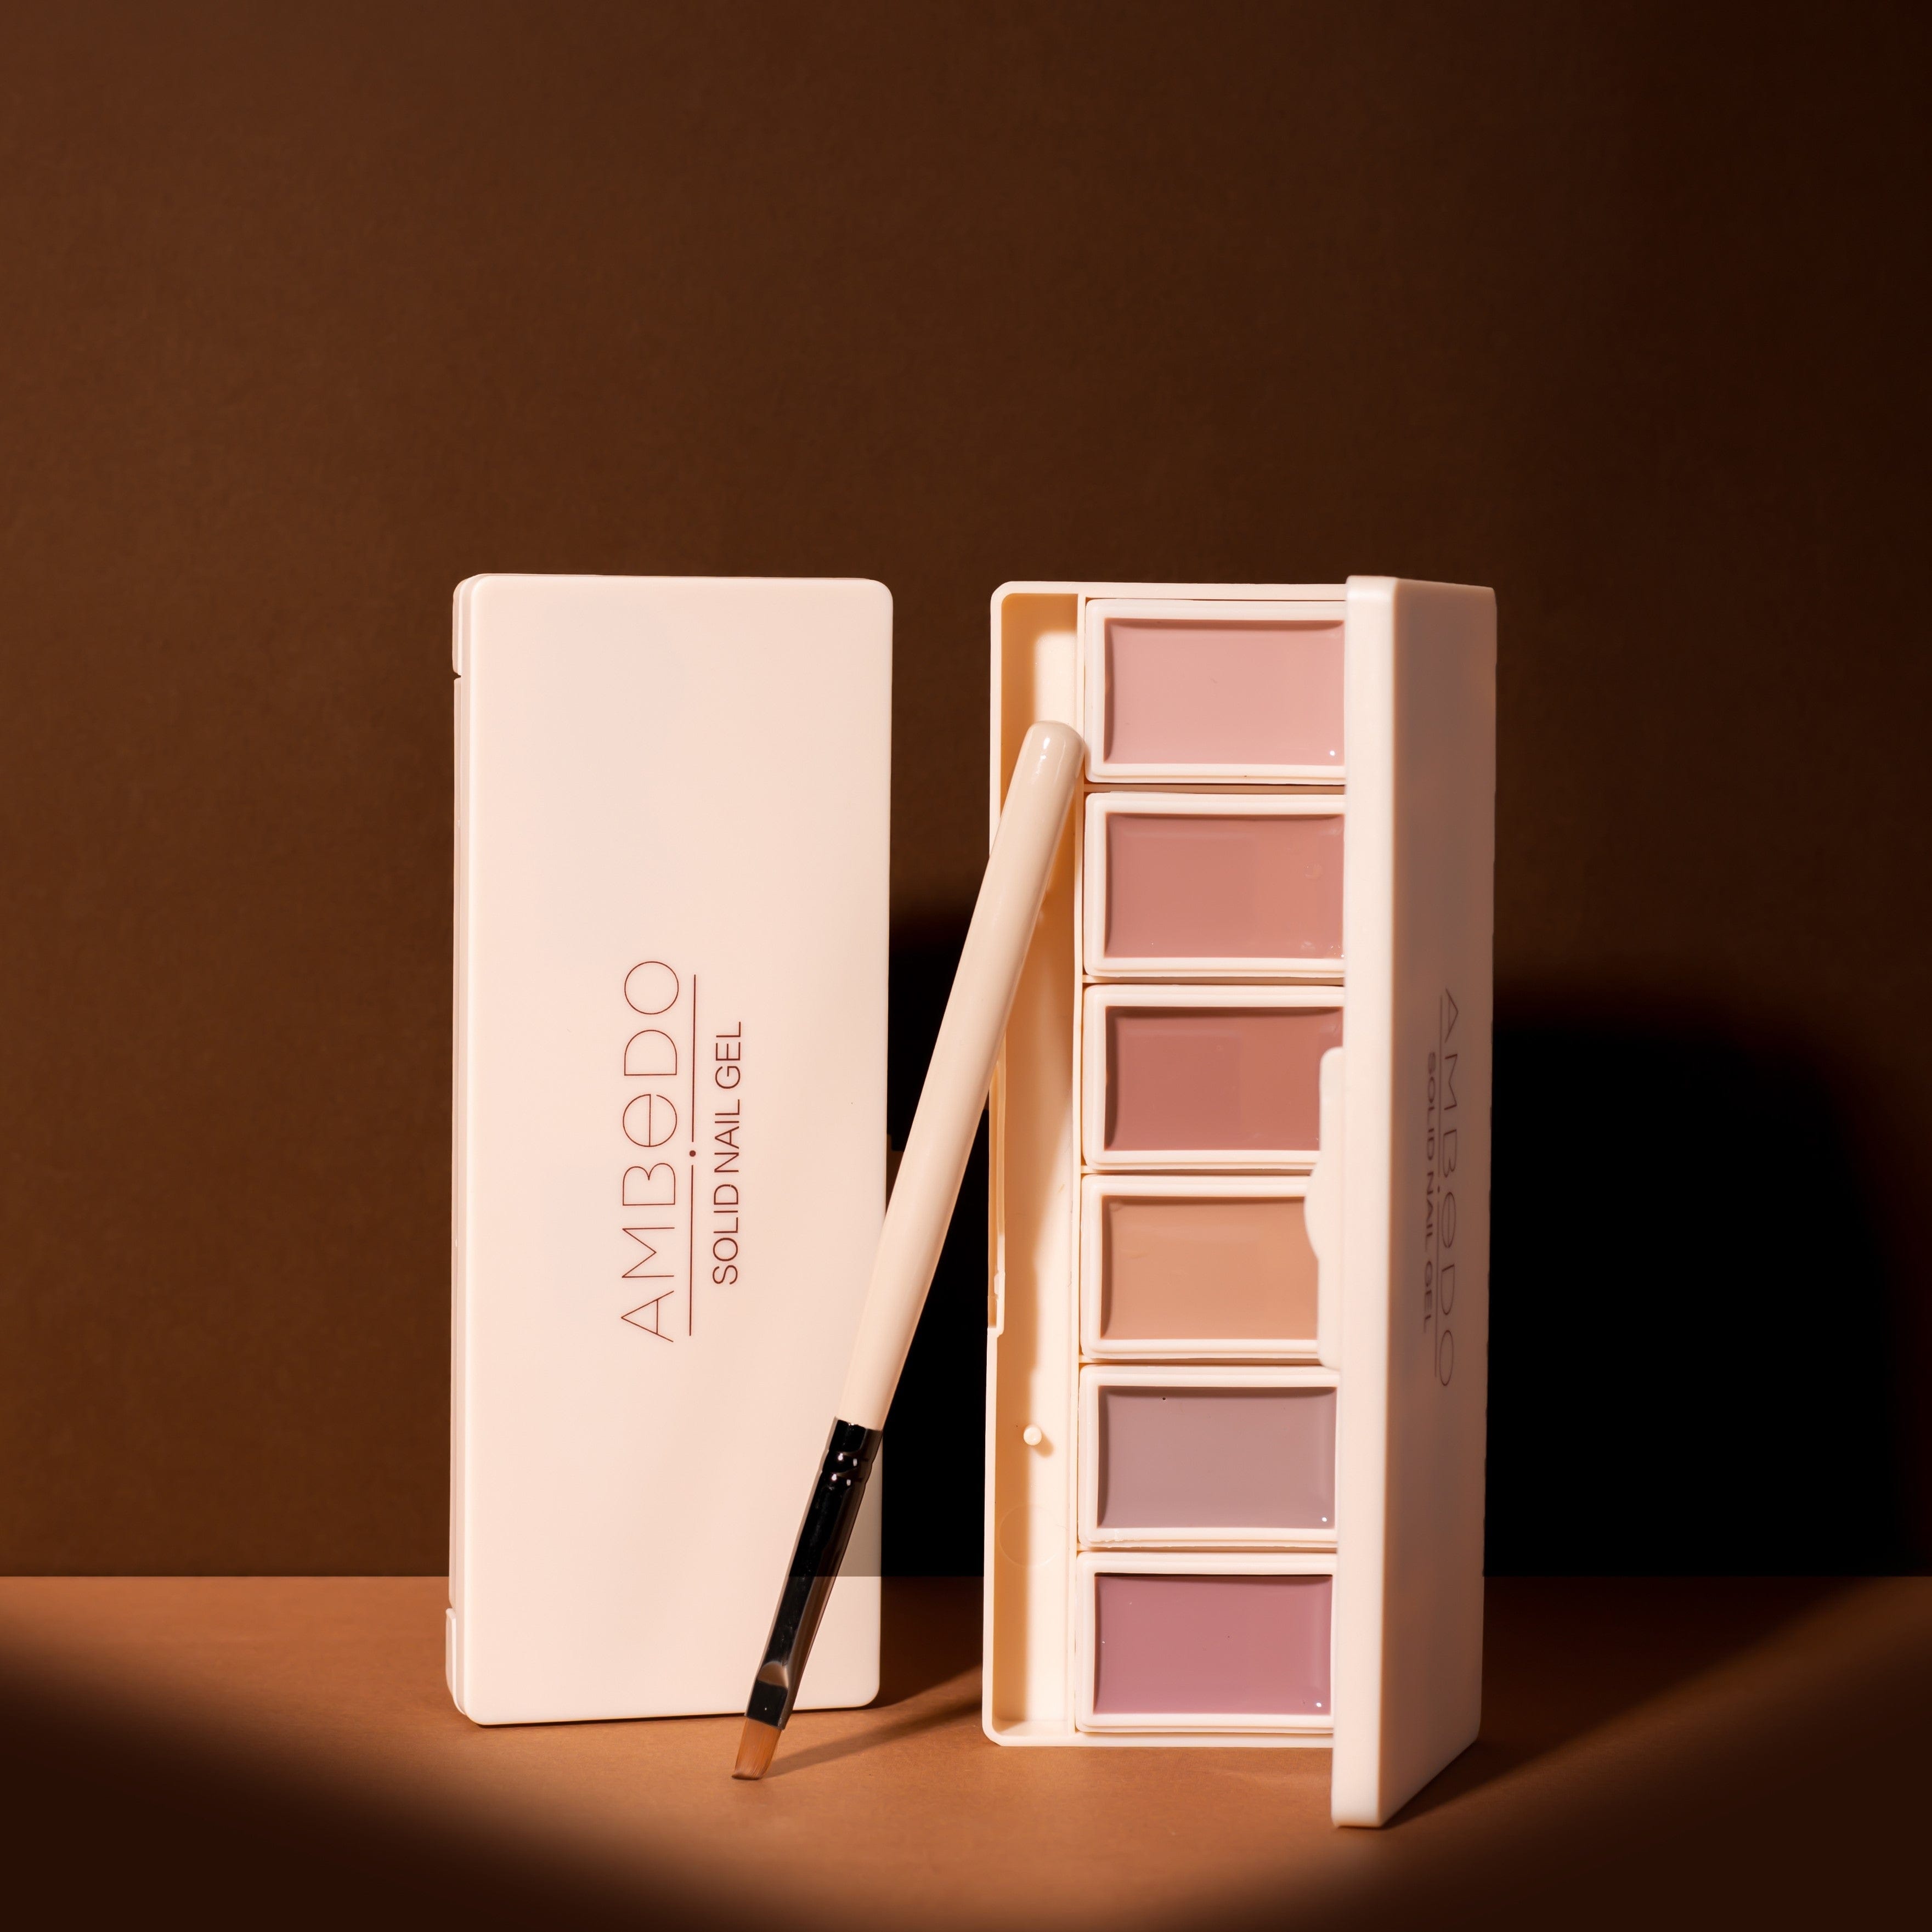
Colour Application: Choose your favourite shade from Ambedo Beauty’s solid gel polish range. Apply a thin layer of colour, starting in the centre of the nail and working outward. Be sure to cap the free edge for added durability.
- Tip: Apply multiple thin coats rather than a single thick one to avoid bubbling or streaking.
- Cure Each Layer: Cure each coat of colour under the lamp for 30-60 seconds. Repeat the process for a second or even third coat, depending on the opacity of the polish and your desired result.

Step 3: Finishing Your Gel Manicure
The final steps in your gel polish application process are all about locking in the colour and achieving that professional finish.
- Top Coat Application: Apply an even layer of Ambedo Beauty’s top coat to seal and protect the colour. This step adds durability and a salon-quality look to your manicure.
- Seal the Free Edge: Once again, cap the free edge to prevent chipping and extend the life of your manicure.
- Final Cure: Cure your nails under the lamp for 60 seconds to ensure the top coat sets completely.
- Remove the Sticky Layer: After curing, use a lint-free wipe soaked in rubbing alcohol to remove the tacky layer left by the top coat.
- Hydrate Your Nails: Finish with a drop of cuticle oil on each nail to keep the surrounding skin hydrated and healthy.

Top Pro Tips for Beginners to get Perfect Gel Nails at Home
- Use thin layers of gel polish to achieve a smooth, even finish.
- Cure each layer properly under the lamp to prevent peeling or smudging.
- Cap the free-edge of each nail to prevent chipping and lifting
By focusing on these steps and using Ambedo Beauty’s premium products, you can create a flawless gel manicure that looks like it was done at a salon. Explore our full range of gel polishes and accessories to bring your nail game to the next level today!


Leave a comment
This site is protected by hCaptcha and the hCaptcha Privacy Policy and Terms of Service apply.