How to Remove Gel Nail Polish Safely at Home | Step-by-Step Guide
What Is the Best Way to Remove Gel Nail Polish at Home?
Without Damaging Your Nails
• Never peel or pick off gel polish. This strips natural nail layers and causes onychoschizia (flaking and peeling).
• Essential tools: 100% acetone, cotton pads or foil wraps, orange wood stick, nail file (100‑180 grit), cuticle oil.
• Step‑by‑step: break the seal with a file, protect skin, soak for 10‑15 minutes, gently push off polish, hydrate immediately.
• Best products: Ambedo Acetone Foil Wraps (mess‑free, convenient) and Ambedo Solid Gel Remover (foil‑free, nourishing).
• Aftercare: apply cuticle oil multiple times daily, take a 2‑3 day polish break, use a nail strengthener.
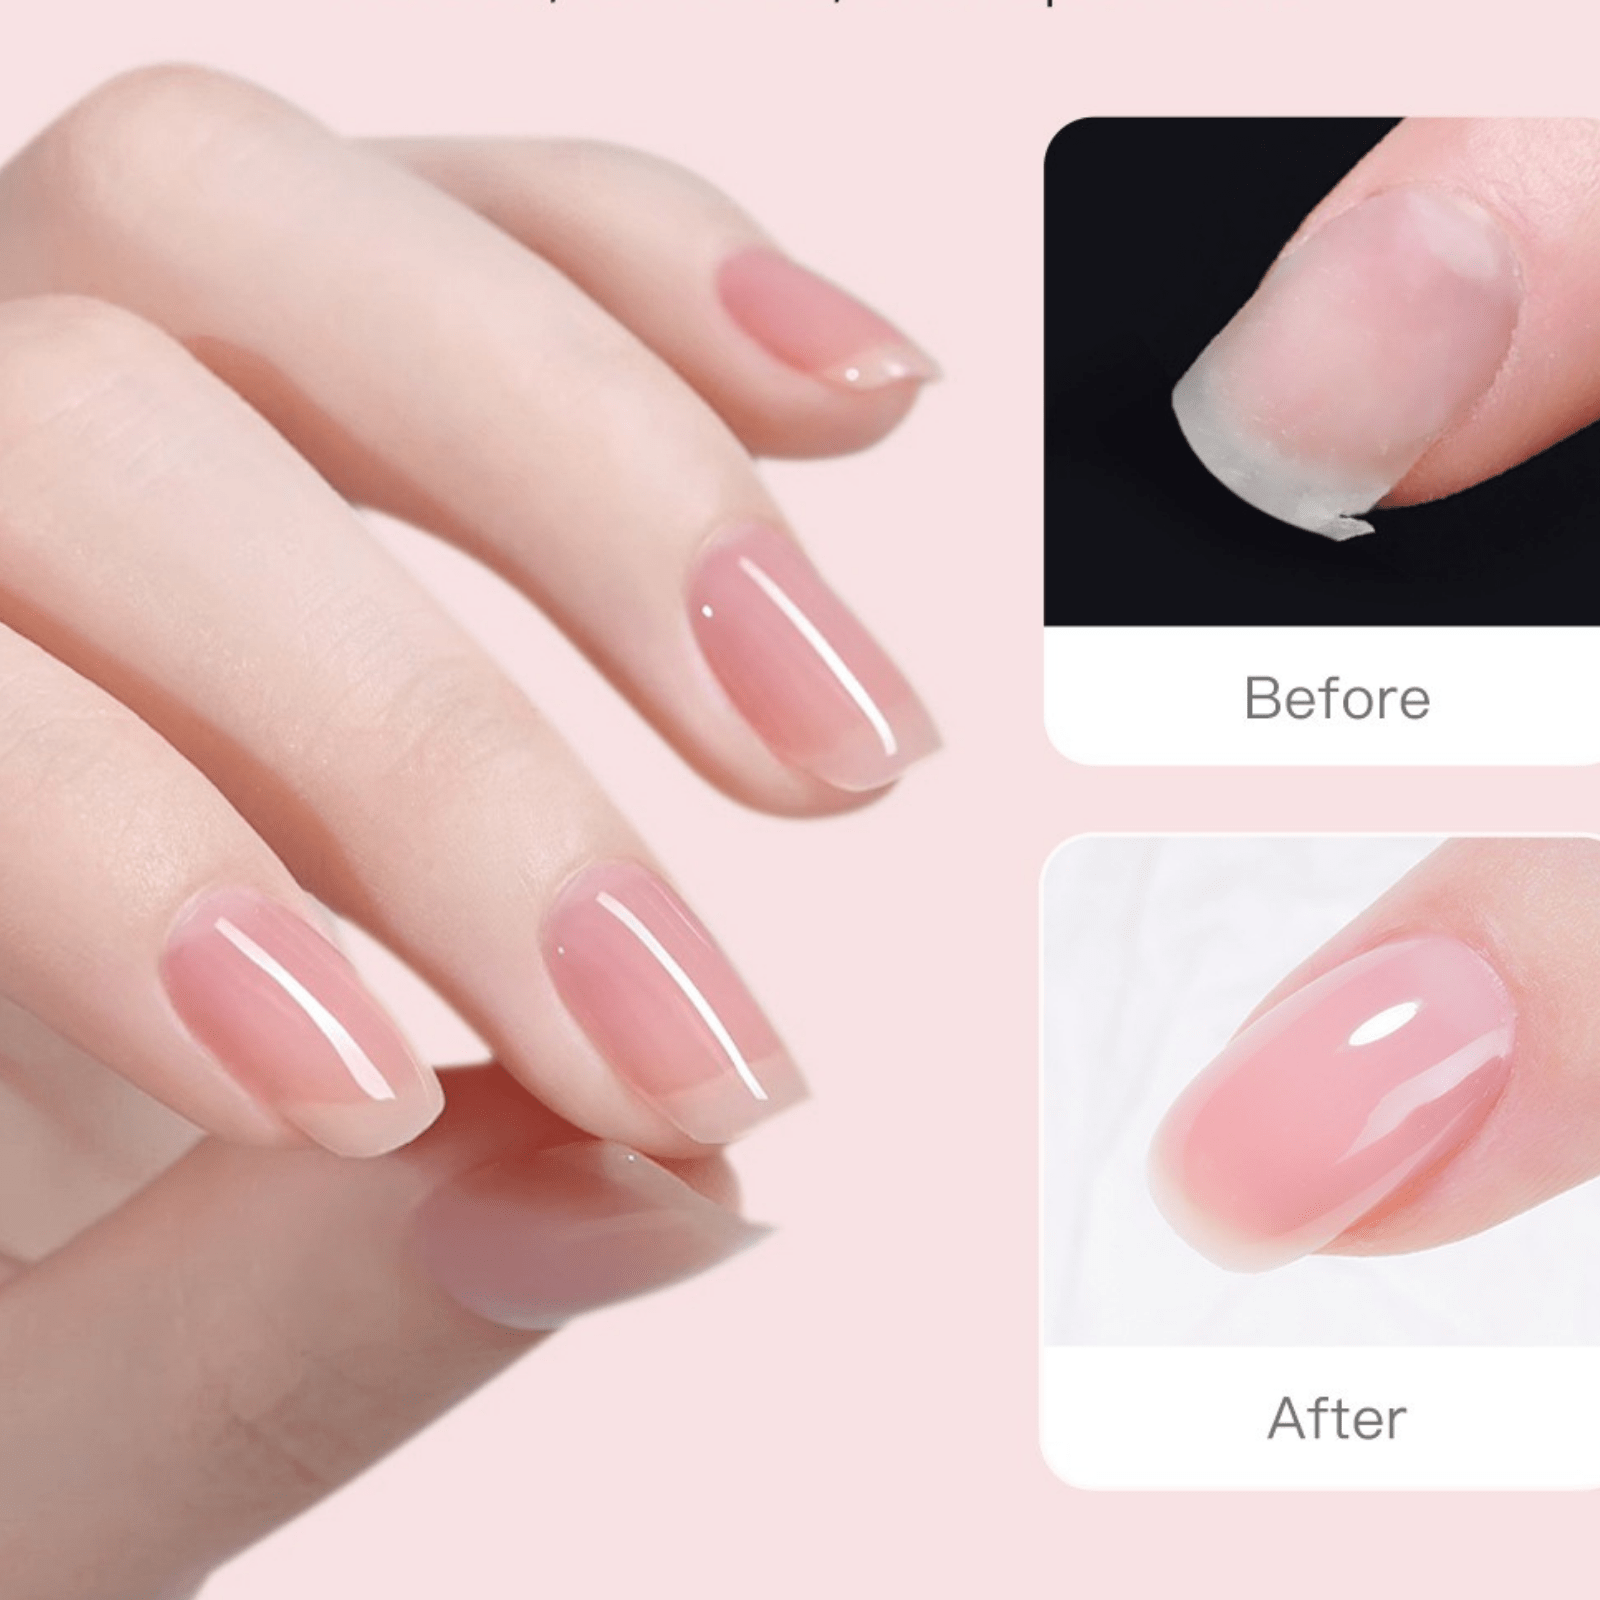
Many people struggle with removing gel nail polish at home. They end up with damaged, weak nails that peel and break. The good news is that with the right technique and products, you can safely remove gel polish without any damage to your natural nails.
When you peel off gel polish, you are not just removing colour. You are stripping away layers of your natural nail plate. This condition is called onychoschizia, the technical term for the flaking and peeling you see on damaged nails. Proper removal protects your nail health.

Having the right tools makes all the difference. Here is what you will need:

Based on expert testing and customer reviews, these are the best products for home gel polish removal.
Best for mess‑free, convenient removal. Pre‑soaked and pre‑cut wraps that eliminate the hassle of cotton and foil. Perfect for quick, clean removal without spills or mess.
Why experts recommend: All‑in‑one solution that saves time and prevents acetone spills.
Shop Foil Wraps →
Best for foil‑free, nourishing removal. Forms a protective bubble over the nail that locks in moisture while breaking down polish. No foil required.
Why experts recommend: Hydrating formula that protects nails during the removal process.
Shop Solid Remover →
Best for budget‑conscious buyers. Pure acetone formula that effectively breaks down gel polish. Widely available at drugstores.


Ambedo Beauty Solid Gel Remover is an innovative product that forms a bubble over each nail, working without foil. It is clean, effective, and contains nourishing vitamins.

Proper aftercare is crucial for maintaining nail health after removal.

How long does it take to remove gel nails at home?
The entire process takes 20‑30 minutes. Soaking time is 10‑15 minutes.
Can you remove gel polish without acetone?
It is very difficult. Acetone‑free removers lack the strength to break down gel polymers effectively.
Why won't my gel polish come off?
Common reasons: not filing enough, not soaking long enough, or room temperature too cold. Acetone works better with warmth.
Is the soaking method safe for natural nails?
Yes, when done correctly. The key is gentle removal and immediate hydration after.
For most people, Ambedo Beauty Acetone Foil Wraps provide the best balance of effectiveness, convenience, and nail safety. They eliminate the mess of traditional methods while delivering professional results.
For those who prefer foil‑free options, the Ambedo Beauty Solid Gel Remover offers innovative technology with added nourishment.
Both options protect your natural nails while making gel polish removal simple and stress‑free.
Shop Professional Gel Polish Removers
Explore Ambedo's range of safe, effective gel removal products. Protect your natural nails with every manicure.
Shop Gel Removers →- American Academy of Dermatology. "Nail health and proper gel removal." aad.org
- Journal of Cosmetic Dermatology. "Acetone and nail plate integrity" (2024).
- Ambedo Beauty internal testing. "Customer satisfaction and removal efficacy."
Always follow manufacturer instructions for best results. Individual experiences may vary.
Leave a comment
This site is protected by hCaptcha and the hCaptcha Privacy Policy and Terms of Service apply.