Ultimate Guide To Home Nail Prep (2025)
The Ultimate Guide to Nail Prep
7 Steps for a Flawless 3-Week Gel Manicure
Tired of your at-home gel manicure chipping after just a few days? You've invested in the best lamp and beautiful polish, but the real secret to a chip-free 3-week gel manicure has been hiding in plain sight.
It's all about the nail prep.
Skipping this crucial stage is the #1 reason for lifting and chipping. Proper preparation creates the perfect canvas for your gel to adhere to, ensuring maximum wear and a professional finish.
The 7 Essential Steps
Master this pre-polish routine to make lifting and chipping a thing of the past
Cleanse and Sanitise
Start with a completely clean slate. Wash your hands thoroughly with soap and water, then use an alcohol wipe or dedicated nail cleanser to remove any surface oils, dirt, and bacteria.
Shape and File
Using a high-quality nail file (we recommend a 180/240 grit file or 100/180 for a gentle filing), gently shape your nails. Always file in one direction to prevent splitting. Once shaped, gently buff the free edge to smooth it out.
Cuticle Care (The Most Important Step)
This is where most at-home manicures fail. Gently push back the cuticles to remove the invisible cuticle—the thin layer of dead skin that adheres to the nail plate. Gel polish will not stick to this skin. Use a cuticle nipper only for hangnails, never the live cuticle.
Buff the Nail Plate
Using a fine-grit buffer block (~220 grit) or nail file, gently and lightly buff the entire nail surface. The goal is not to thin the nail, but to remove the natural shine and create a slightly rough texture for the gel to grip onto.
Dehydrate and Cleanse Again
This is the final, critical cleaning step. Use a lint-free wipe soaked in a nail dehydrator or isopropyl alcohol (IPA) to thoroughly wipe the entire nail plate. This ensures the nail is perfectly dry and ready for the base coat.
Apply the Base Coat
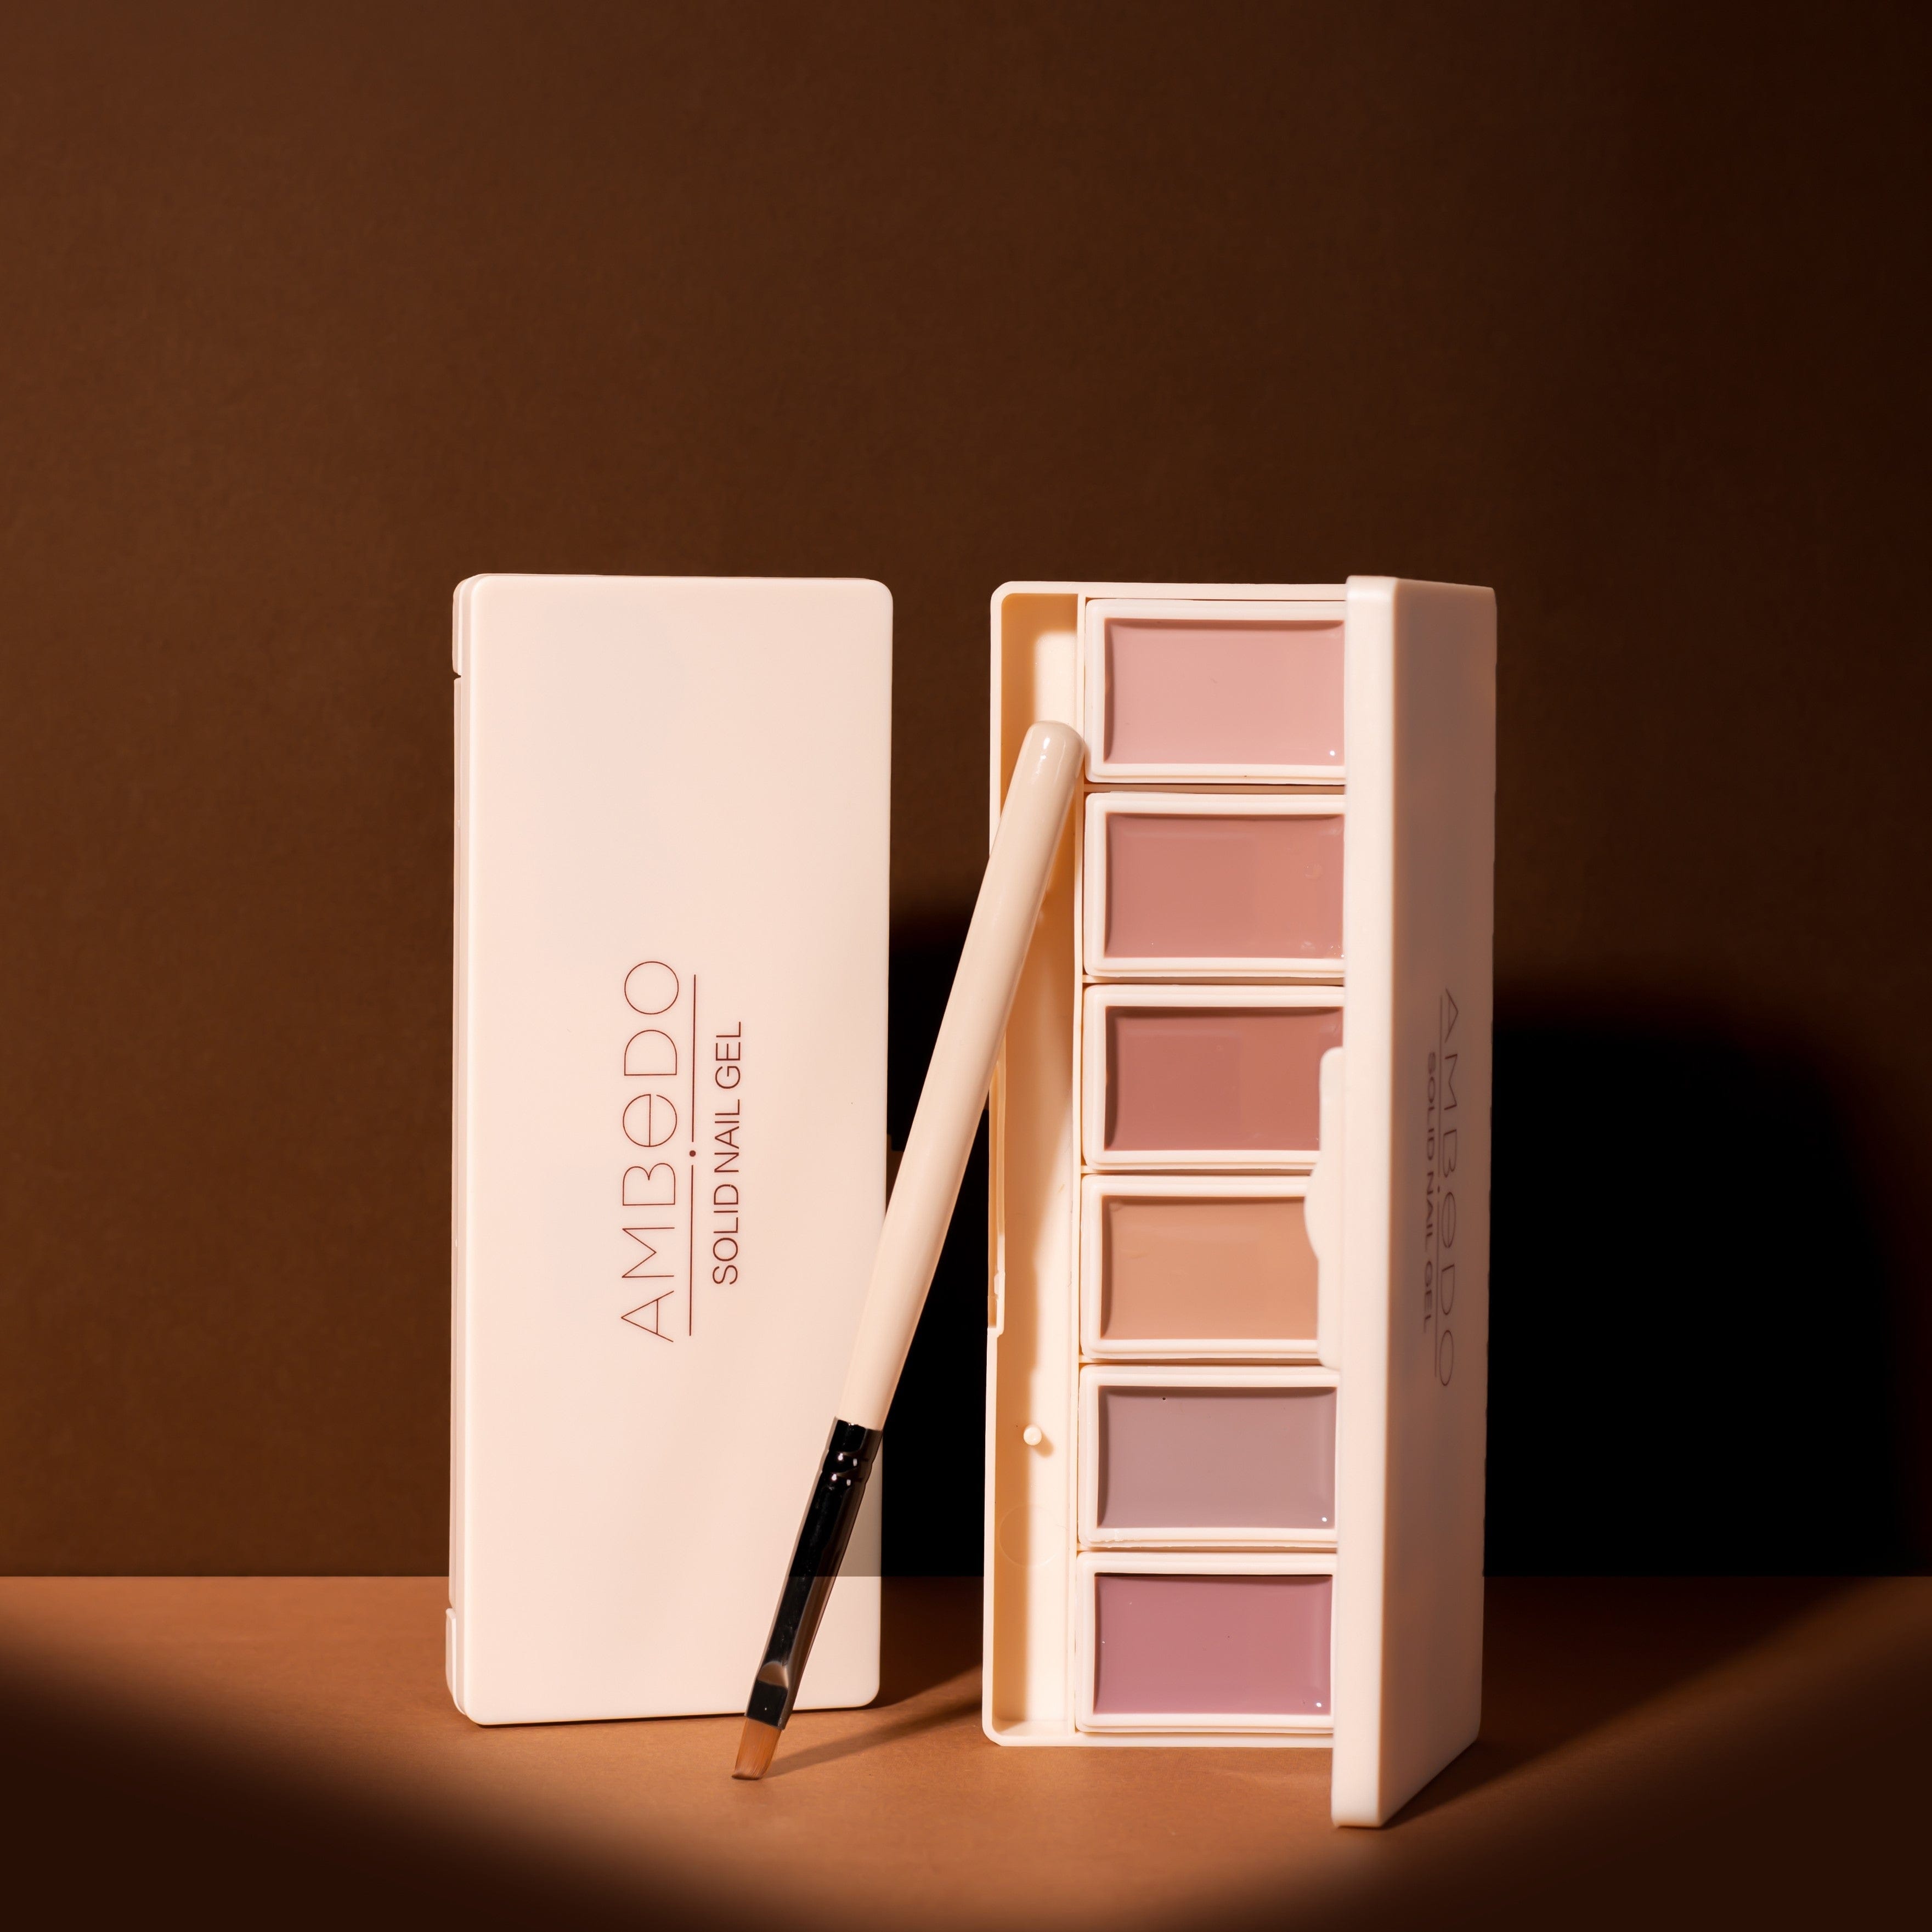
The base coat is the adhesive layer that bonds the gel to your natural nail. For maximum longevity and strength, we recommend the Ambedo Fibre Fix 5-in-1 Builder Base Gel or Vitamin-e Base Coat.
This award-winning product not only acts as a strong base but also adds a layer of reinforcement to prevent breaks and chips. Apply a thin, even layer, making sure to "cap" the free edge of the nail. Cure fully under your UV/LED lamp.
The Final Check
Before applying colour, run your finger over the cured base coat. It should feel slightly tacky. Ensure there is no base coat on your skin or cuticles. If there is, wipe it away with a small brush before applying colour. Any gel touching the skin will cause lifting.
Troubleshooting Guide
Why did my manicure still lift? Find the solution here
| Problem | Cause | Solution |
|---|---|---|
| Lifting at the Cuticle | Failure to remove the invisible cuticle or base coat touching the skin. | Be meticulous with cuticle removal. Use a small brush to clean up the edges before curing. |
| Chipping at the Tip | Not "capping" the free edge with the base and top coat. | Ensure you brush a thin layer of both the base and top coat over the very tip of the nail. |
| Premature Peeling | Not properly dehydrating the nail or over-buffing. | Use a dedicated dehydrator and only lightly buff the shine off the nail plate. |
Ready for a Flawless 3-Week Manicure?
By mastering these 7 steps, you're setting yourself up for a durable, beautiful, and long-lasting manicure.
Written by Neena Carter


3 comments
Hi I have just ordered tje starter kit, does it come with instructions as I watched a video clip and the lady dipped the brush in base coat before putting it in the nail colour. Also how do you clean the nail colour brush
Thank you
Jeanette Wells
Jeanette Wells Wells
Is there a potential ingredient list for your products?
I have to make sure there is no nut oils of any kind and definitely no lavender. As I am highly allergic to both. Kind of excited to try your product a friend recommended it
Tanya Kobzeff
How do I remove gel nail polish off nail extensions? I’ve tried Peel off and acetone and neither works.
Irena
Leave a comment
This site is protected by hCaptcha and the hCaptcha Privacy Policy and Terms of Service apply.