
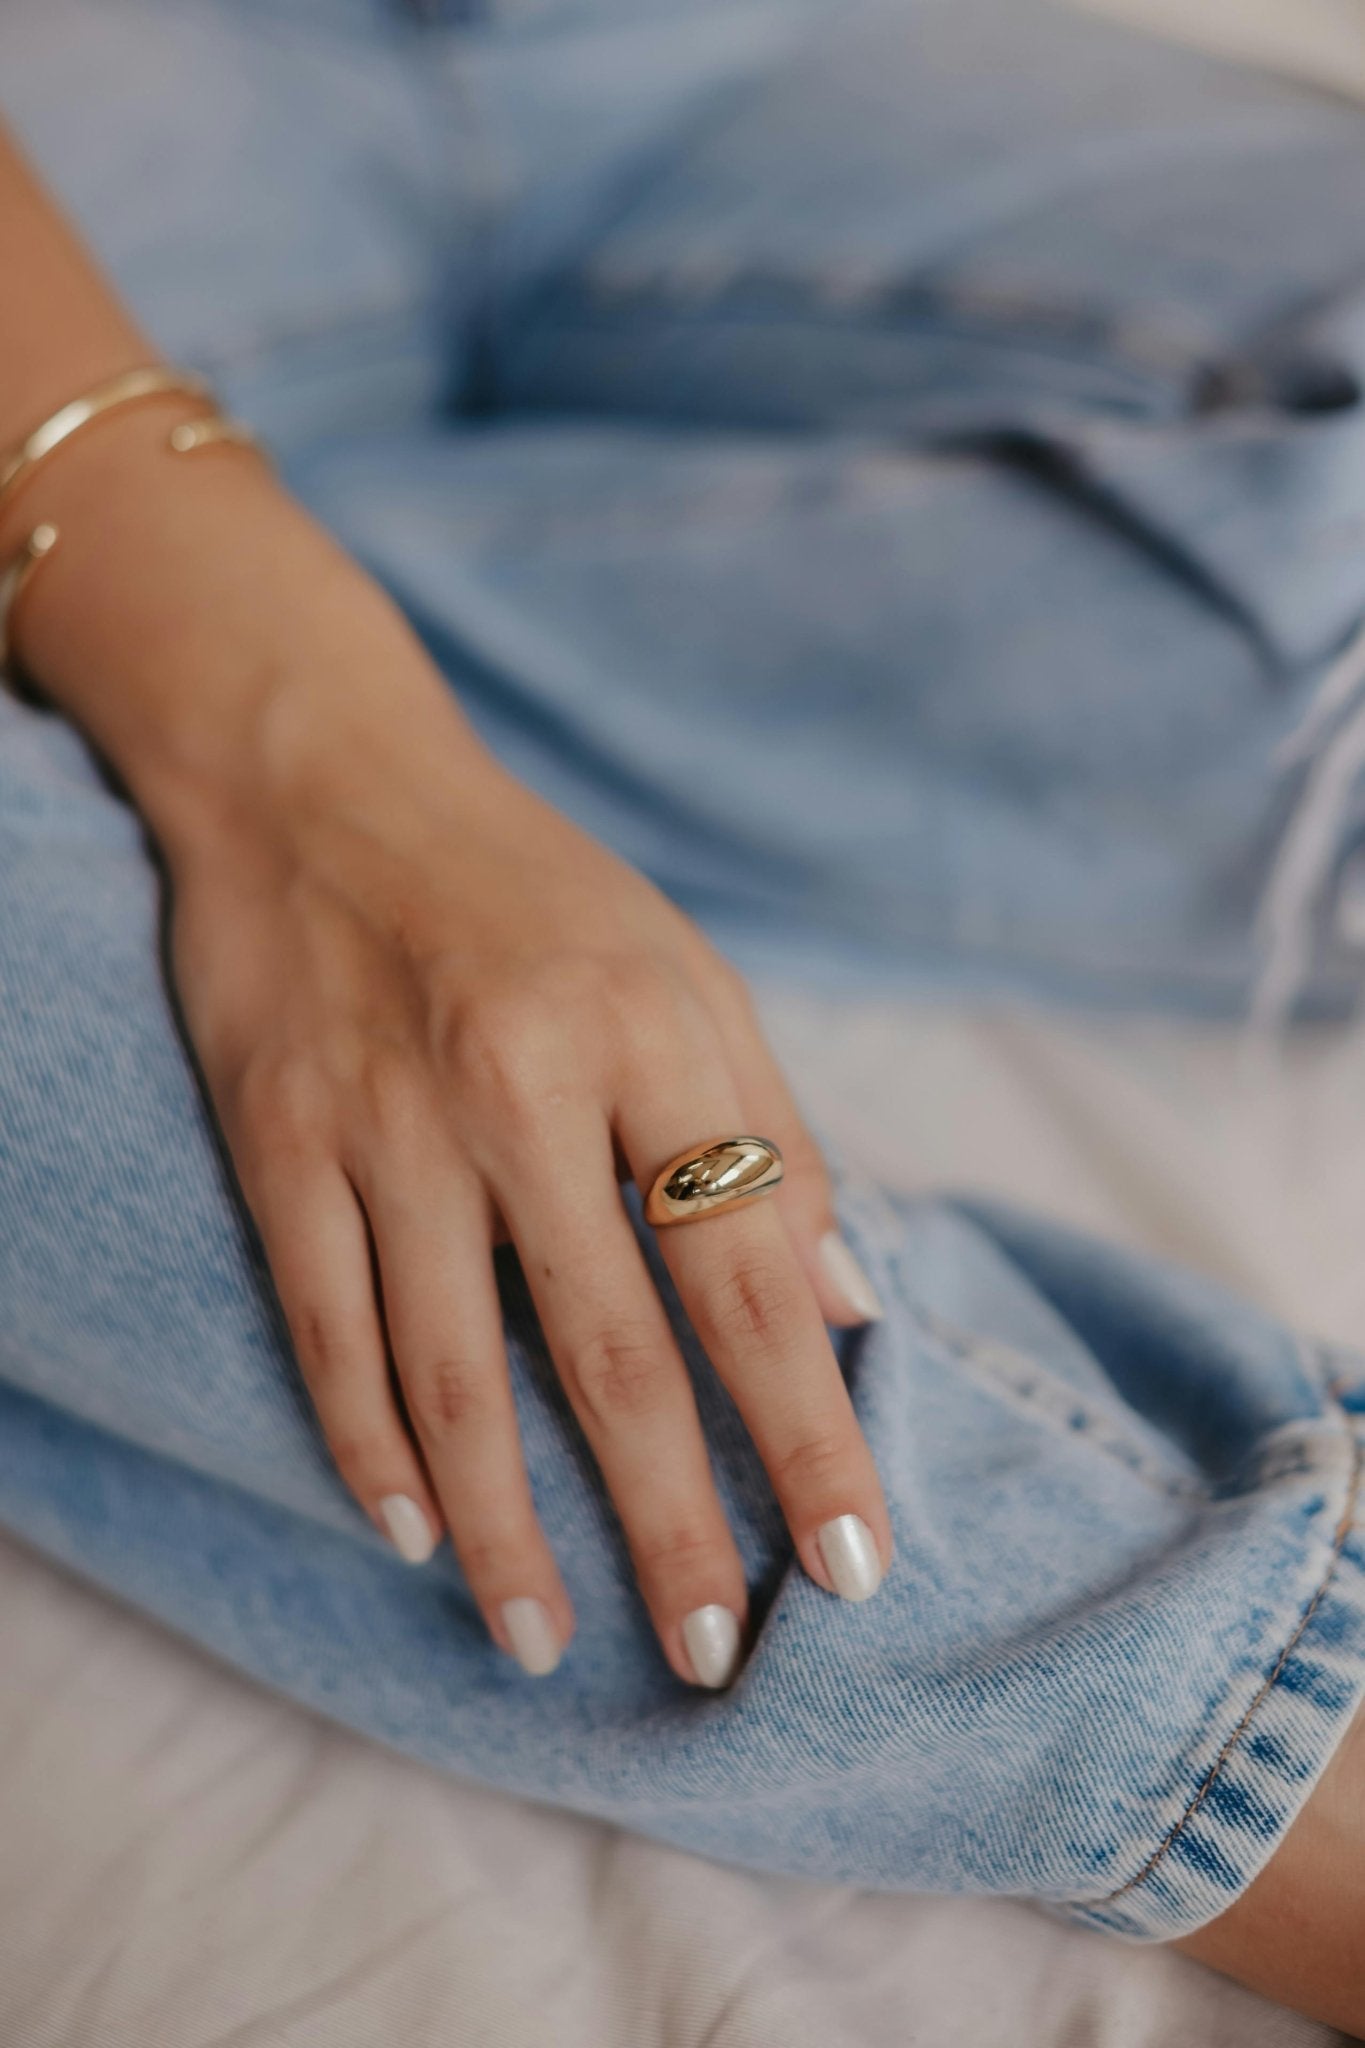
How To Keep Healthy Nails With Gel Polish
The Nail Cycling Method
When to Take a Gel Break for Healthy Nails
• Nail Cycling means scheduling intentional breaks between gel manicures to let your natural nails recover.
• Take a break if you see yellowing, peeling, or feel tenderness. Or proactively every 3‑4 gel sets.
• During a break, focus on hydration (cuticle oil), gentle care, and protection.
• Maintain nail health by choosing nourishing formulas and perfecting your removal technique.
• The goal is to enjoy beautiful gel nails long‑term while keeping your natural nails strong and healthy.
You love that moment when you finish a gel manicure. The perfect, glossy finish that you know will last for weeks without chipping. It feels like a professional salon result right at home. But what if you could enjoy that beautiful gel look while also nurturing your natural nails underneath?
If you have ever wondered how to maintain that balance, you are not alone. Many at‑home nail enthusiasts want both: stunning, long‑lasting colour and naturally healthy nails.
Here is the wonderful truth: you can absolutely have both. This guide introduces you to Nail Cycling, a thoughtful approach that lets you enjoy gel polish while giving your natural nails the care and attention they deserve. By the end, you will know exactly when to take a restorative break, how to nourish your nails back to their best health, and how to maintain them for your next beautiful at‑home manicure.

How gel polish works. Unlike regular polish that dries by evaporation, gel polish is a photopolymer that hardens (cures) under UV or LED light. This creates a durable, flexible layer that bonds to your nail plate. The curing process is called polymerisation, and it gives gel its incredible staying power.
Your natural nail plate. This is the hard, translucent part of your nail you paint on. It is made of layers of keratin, a protein, and is naturally porous. This means it can absorb and release moisture. Keeping this moisture balance is key to healthy, flexible nails.
The importance of nourishment. Just like your skin, your nails benefit from regular hydration and nourishment. Think of your nails as an extension of your skincare routine. They thrive with consistent, gentle care.

Nail Cycling is built on one beautiful principle: balance is beautiful. It is about enjoying gel polish while honouring your natural nail health. Here is your actionable, step‑by‑step plan.
Step 1: Know When to Start Your Restorative Break
Listening to your nails is a skill that develops with practice. Here are signs it might be time for a break.
Signs your nails could use extra care. Visual cues include yellowing, white spots, noticeable ridges, or peeling. Sensational cues include tenderness on the nail bed, a feeling of thinness, or increased sensitivity.
Step 2: Your Nourishing "Nailcation" Protocol
This is your nurturing protocol for the 1‑2 week break period. Think of it as a wellness retreat for your nails.
Gentle cleansing and care. File gently in one direction to maintain nail integrity. Use a fine‑grit file (180+ grit) and a soft buffer lightly to smooth ridges. Choose gentle, moisturising hand soaps.
Intensive hydration and nourishment (the heart of nail care). Apply cuticle oil three times daily. Jojoba oil closely mimics our skin's natural sebum and penetrates the nail plate beautifully. Use a protein‑based strengthener for the first week, then switch to a hydrating treatment for week two. Apply rich hand cream after every hand wash, massaging into nails and cuticles to lock in moisture.
Protection during recovery. Wear gloves for household tasks involving water or cleaning products. Use the pads of your fingers rather than your nails. Keep nails at a comfortable length during recovery to prevent accidental breaks.
Step 3: Maintaining Healthy Nails During Gel Wear
When you return to gels, maintain that beautiful balance with these healthy habits. Lightly buff the nail surface rather than aggressive filing. Always soak off rather than force removal. Continue daily cuticle oil application, even with gel on. If you notice any lifting, file it smooth and apply top coat until proper removal time.

We have supported thousands of home nail artists on their journey to healthier nails. Here is what we have learned works best.
The products you choose can make a beautiful difference in your nail health journey. Just as we choose gentle formulas for our skin, our nails benefit from thoughtful formulations. Quality ingredients can support your nails' natural health while delivering beautiful colour.


How long should my gel nails last before I remove them?
A well‑applied at‑home gel manicure should last 2‑3 weeks without significant lifting. We recommend removing around the 3‑week mark to maintain optimal nail health and prepare for your nourishing break period.
Can I wear regular polish during my break?
Absolutely. Regular polish is a wonderful option during your break. It allows your nails to breathe while still giving you beautiful colour. Just remember to use a protective base coat and give your nails a day or two completely bare between polish changes for maximum hydration.
Do I need a lamp for at‑home gels?
Yes, a quality LED/UV lamp with the correct wavelength is important for proper curing. Properly cured gel wears better and maintains its beautiful finish. Always use the lamp recommended for your specific gel formula for the best results.
How long until I notice improvements in my nail health?
Nail growth happens gradually, about 3mm per month, so patience is key. You will likely notice improvements in flexibility and strength within 2‑3 weeks of consistent care. For a completely new nail plate from cuticle to tip, it takes 3‑6 months.
Ready to Embrace the Balance of Nail Cycling?
Join our community of at‑home nail enthusiasts who have discovered the joy of beautiful gel nails and naturally healthy nails together.
Explore Nourishing Nail Care →- American Academy of Dermatology Association. "Tips for Healthy Nails." aad.org
- Journal of Cosmetic Dermatology. "The effect of nail polish on nail hydration and surface structure." 2021
- International Journal of Dermatology. "Nail cosmetics and their associated complications." 2020
This blog post is for educational purposes and is based on our professional experience. Individual results may vary. If you have specific nail health concerns, consult a dermatologist or licensed nail technician.

Leave a comment
This site is protected by hCaptcha and the hCaptcha Privacy Policy and Terms of Service apply.